Gifts are all processed in the Financial section but before these can be entered a Batch will need to be created. A Batch is used to store the Transactions and can contain one or more transactions depending on how many need to be processed.
Step 1: Create a Batch: Select Batches from the Financial menu and press Add New Batch.

The Batch screen has a number of fields, Status, Access, Description, Target Count and Target Amount.
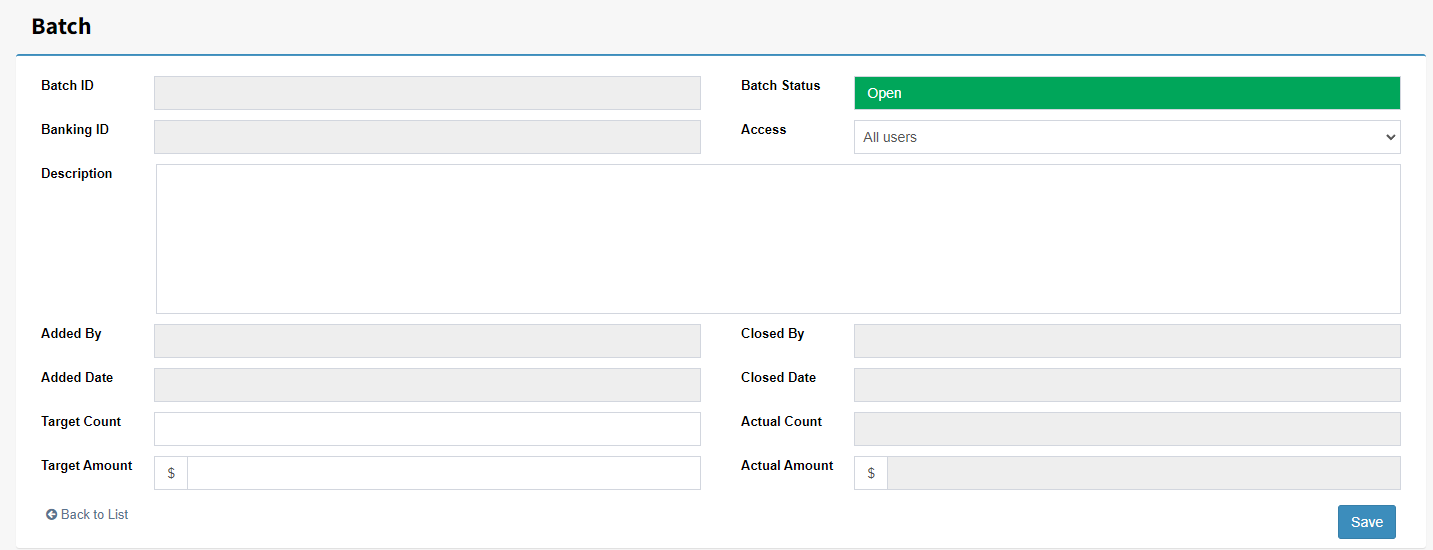
Status: Is a shelving option old batches can be Archived.
Access: Who can access the Batch from the Transaction screen.
Description: Describes the Batch. E.g. Appeal gifts 12 March.
Target Count & Target Amount: These are used for double entry to determine what is entered matches the tallied count and amount.
Save: Saves the record and allocates a Batch ID.
Step 2: Create a Transaction for the incoming gift. This is done by going to Transactions under the Financial menu and selecting the Add New Transaction button.
Now use Contact field to find the contact that has made the gift. By entering Last Name, First Name, Organisation and other fields.
Tip: Use commas to separate fields to help narrow the search.

Choose the payment type, and transaction date. Different payment types have multiple different fields depending on the payment type selected.
Receipt Channel - This determines how the donor will receive their receipt. It is pre-populated from the Receipt Chanel field in the Contacts Comm Centre tab. This can be changed here if required and it can be used as override at this point. A template override is also available here otherwise the template assigned to the Operation will be used by default.
Receipt Annually - Selecting this will move the transaction from Batching Receipt to Annual Receipting so it can be receipted in bulk generally after the financial year.
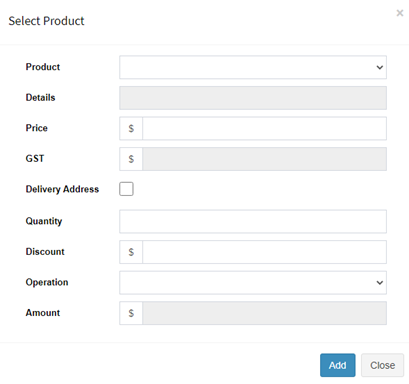
Step 3: Select the + Add button, to assign a transaction with a Product, Operation and specify Amount. These can populate automatically if the Product selected have values assigned to them. Press Add once completed.
Note: If there are multiple products assigned to one payment repeat Step 3 until all payments have been added.
Step 4: Click on Save or Save & New to save the record.
Note: If the transaction is a credit card saving the transaction will prompt for the card to charged. Selecting Yes will attempt to charge the card and return the outcome at the top right hand area of the screen.