
Select ‘Add new Target List’, this will open the ‘Query Generator’, for more information on the contact query generator see the section on this. Select your ‘Conditions’, run the query to see your outcome.
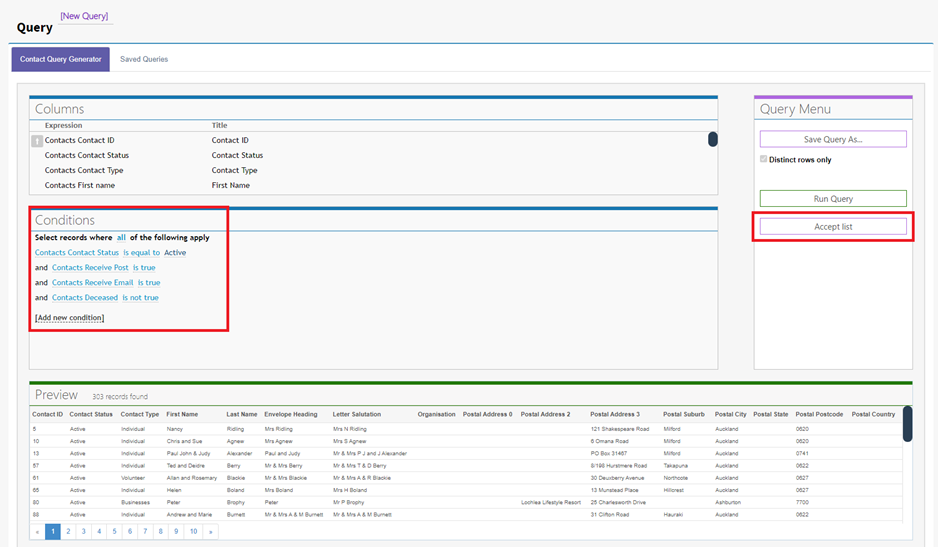
Select ‘Accept List’ on the right-hand side of the contact query generator once you’re happy with your selection. Note: you can add multiple target lists, after step 8 is complete simply start at step 5 again.
After accepting the list another screen will appear on top of the ‘Add new Operation’ screen.
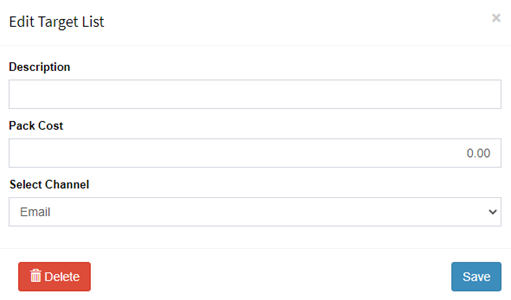
Simply add your target list description/Name, the cost of their pack (For stock products), then finally, select the preferred channel for this target list (Email, SMS, Print).
Now displayed under the ‘Add new target List’ button is the target list we just added. Also, the option to ‘Export Selected Target Lists’ becomes available for sending directly to the ‘Jobs’ section.
